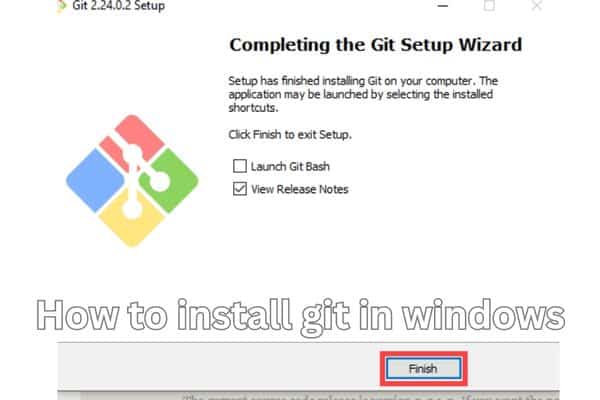
How to install git in windows in 2023

In 2023, you can follow steps on how to install Git in Windows to effectively set up the version control system on your computer. Git is a widely used version control system that allows developers to track changes, collaborate on projects, and manage code efficiently. You should first install Git on your machine if you use Windows and wish to begin using it.
How to install git in windows
Step 1: Download Git for Windows
- Open your web browser and visit the official Git website.
- Click on the “Download” button on the webpage to start the download process.
- Choose the appropriate version of Git (32-bit or 64-bit) that matches your Windows operating system.
- Click the download button to begin downloading Git.
Step 2: Run Git Installer
- Locate the downloaded Git installer file and double-click on it.
- If prompted by User Account Control (UAC), click “Yes” to allow the installation to proceed.
- On the Git Setup wizard, select your preferred language and click “Next.”
- Read and accept the license agreement, then click “Next.”
- Choose the components you want to install. The default selection includes all necessary components. Click “Next” to proceed.
Step 3: Choose Installation Location:
- Specify the destination folder where Git will be installed. The default location is usually recommended unless you have a specific reason to choose a different folder. Click “Next” to continue.
- Select the desired components for the Windows Explorer integration. It is recommended to keep the default options selected for a typical installation. Click “Next” to proceed.
Step 4: Adjust the Start Menu Folder:
- Specify the name for the Start Menu folder or keep the default name. Click “Next” to continue.
Step 5: Choose the Default Editor:
- Select your preferred text editor for Git commits and other purposes. The recommended choice for beginners is “Use Visual Studio Code as Git’s default editor.” Make your selection and click “Next.”
Step 6: Adjust the PATH Environment:
- Choose the desired option for adjusting the system’s PATH environment. The recommended option is “Git from the command line and also from 3rd-party software.” Select it and click “Next” to proceed.
Step 7: Choose HTTPS Transport Backend:
- Select the appropriate backend for HTTPS connections. It is recommended to keep the default option “Use the native Windows Secure Channel library” and click “Next” to continue.
Step 8: Configure Line Endings:
- Choose the line ending conversion behavior for Git. The recommended option is “Checkout Windows-style, commit Unix-style line endings.” Make your selection and click “Next.”
Step 9: Configure Terminal Emulator:
- Select the terminal emulator to use with Git. The recommended choice is “Use MinTTY (the default terminal of MSYS2).” Select it and click “Next.”
Step 10: Completing the Installation:
- Review the installation summary and ensure that the selected options match your preferences.
- Click “Install” to begin the Git installation process.
- Wait for the installation to complete.
- Once the installation finishes, click “Finish” to exit the installer.
Congratulations! You have successfully installed Git on your Windows system.
FAQ
Q: What is Git?
A: Git is a distributed version control system that enables programmers to effectively manage code, track changes and work together on projects.
Q: Why should I install Git on Windows?
A: By installing Git on Windows you may benefit from its robust version control features. Which make it simpler to manage and keep track of your code changes.
Q: How can I install Git on Windows?
A: Here are the steps to install Git on Windows:
- Download the Git installer from the official Git website.
- Run the Git installer by double-clicking on the downloaded file.
- Follow the installation wizard instructions, selecting your preferred language, accepting the license agreement, and choosing the desired components to install.
- Complete the installation process by clicking “Next” or “Finish” when prompted.
Q: Can I customize the Git installation?
A: Yes, during the installation process you can customize the components and options based on your preferences. However, Stick with the default options for a standard installation.
Q: Are there any system requirements for installing Git on Windows?
A: Git is compatible with various versions of Windows including Windows 10, 8, and 7. Ensure that your Windows operating system meets the minimum requirements specified by the Git installer.
Q: How do I verify if Git is successfully installed on my Windows system?
A: After the installation open the command prompt or Git Bash and enter the command “git –version.” If Git is installed correctly, it will display the installed version of Git.
Q: Can I update Git to the latest version in the future?
A: Yes, Git can be updated to the latest version by downloading the newer installer from the official Git website and running the installation process again. It will update the existing installation to the latest version.
Q: Where can I find resources to learn more about Git and its usage?
A: There are numerous online resources, tutorials and documentation available to learn Git. The official Git website, Git documentation and online platforms like GitHub provide comprehensive guides and tutorials for beginners and advanced users.
Q: Can I use Git with popular code editors like Visual Studio Code?
A: Yes, Git integrates seamlessly with popular code editors like Visual Studio Code, allowing you to manage your Git repositories directly from within the editor.
- GitHub Where World Builds Software
- The Importance of Personalization in Digital Marketing
- How to Create a Successful Digital Marketing Strategy: Tips and Tricks
Conclusion:
Installing Git on Windows is a simple process that enables you to take advantage of its powerful version control capabilities. By following steps you can easily install Git on your Windows system. With Git successfully installed, you are now equipped to take advantage of its powerful version control features, allowing for efficient code management, collaboration and tracking. Embrace Git to enhance your development workflow and streamline your coding projects.


