How to use a 3D printer to create your own objects

3D printing has revolutionized the way we create and manufacture objects. With a 3D printer, you can bring your designs to life and make your own unique creations. In this article, we will go over the basics of how to use a 3D printer to create your own objects.
How to use a 3D printer to create your own objects
Step 1: Choose a 3D Printer
Before you can start 3D printing, you’ll need to choose a 3D printer to use. There are many types of 3D printers available, each with their own features and specifications. Some popular brands include Prusa, Ultimaker, and Creality.
When choosing a 3D printer, consider your budget, the size of the objects you want to print, and the types of materials you want to use. Some 3D printers are designed for hobbyists and beginners, while others are more advanced and suitable for professionals.
Step 2: Choose a Design
Once you have a 3D printer, you’ll need to choose a design to print. There are many websites that offer free 3D models, such as Thingiverse and MyMiniFactory. You can also create your own designs using 3D modeling software, such as Tinkercad or Fusion 360.
When choosing a design, consider the complexity of the model, the size of the object, and the materials you want to use. Some designs may require support structures or post-processing, such as sanding or painting.
Step 3: Prepare the 3D Model for Printing
Before you can start printing, you’ll need to prepare the 3D model for printing. This involves slicing the model into layers that the 3D printer can understand. Most 3D printers come with slicing software, such as Cura or PrusaSlicer, that allows you to adjust the print settings and generate the gcode file (the file that contains the instructions for the 3D printer).
When preparing the 3D model for printing, consider the layer height, infill density, and support structures. These settings can affect the quality and strength of the final print.
Step 4: Load the Filament and Start Printing
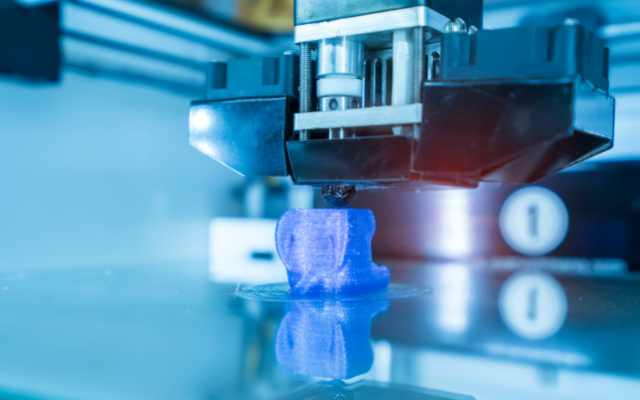
Once you’ve prepared the 3D model, you can load the filament into the 3D printer and start printing. Most 3D printers use a spool of filament, such as PLA or ABS, that is heated and extruded through a nozzle to create the object.
When loading the filament, make sure to follow the manufacturer’s instructions and adjust the temperature and flow rate as needed. Once the filament is loaded, you can start printing the object. Be sure to monitor the print and address any issues, such as adhesion or layer shifting, as they arise.
Step 5: Post-Processing and Finishing
After the 3D printing is complete, you may need to perform post-processing and finishing to clean up the object and improve its appearance. This can include removing support structures, sanding or filing the surface, and painting or adding a protective coating.
When post-processing and finishing the object, be sure to use proper safety equipment and follow the manufacturer’s instructions. Some materials, such as resin or carbon fiber, may require special handling and disposal procedures.
In Conclusion
Using a 3D printer to create your own objects can be a rewarding and exciting experience. With the right equipment and software, you can bring your designs to life and make unique and customized objects. Be sure to choose a 3D printer that meets your needs, prepare the 3D model carefully, and follow proper safety procedures when printing and finishing. With practice and patience, you can master the art of 3D printing and create amazing objects.


