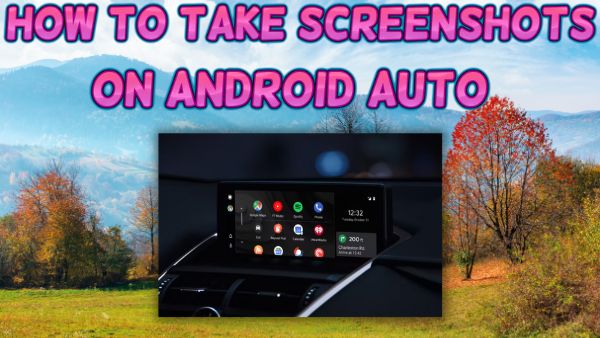
How To Take Screenshots On Android Auto

How To Take Screenshots On Android Auto- When developer settings are activated, you can view them from the top-right three-dot menu on the display. You’ll now see a button “Share screenshot,” which, as its name indicates, enables you to capture a screenshot and share it with the majority of the applications that are currently loaded on your phone.
One of the easiest methods to describe a bug or show someone a specific screen is to take a screenshot of it. They give visual documentation of little information you might forget and many words that would otherwise be wasted.
On an Android phone, taking a screenshot is pretty simple, but did you know that you can do the same when using Android Auto? It takes more fumbling, so let your passenger handle it instead of trying to take a fast photo while you’re driving. Taking a snapshot of your Android Auto screen, though, is quite easy once you’ve finished a few initial chores. Continue reading to learn how to accomplish it.
How To Take Screenshots On Android Auto
To begin, put an Usb connection into USB port on your car as well as the other end into your Android phone to link it to Android Auto (through Google). If this is your first time using Android Auto, you may need to download the app from the Google Play Store and set it up using the instructions. Once linked, adhere to the instructions below.
Follow these steps to take Screenshots on Android Auto
- Open “Advanced features” inside the “Settings” section of your smartphone.
- To access the feature’s settings, hit the “Android Auto” choice there.
- The ‘Version’ tab in the ‘About’ section may now be found by scrolling all the way to the bottom of the screen.
- When a prompt asking about enabling developer settings displays on the screen, repeatedly press the word “Version” until it does. Then hit “OK.”
You’ll be able to effectively enable the Android Auto developer settings on your smartphone and take screenshots if you properly follow the instructions. However, the procedure is still just halfway done.
- Select “Developer settings” by tapping on the three dots in the top right corner of the screen.
- Tap “Share screenshot immediately” on the next screen to take a snapshot of the whole Android Auto user interface.
- Through the applications displayed on the screen beneath the “Complete action using” window, you may share the screenshot.
- To share the screenshot, use the ‘Just Once’ button at the bottom.
Things to keep in mind while taking a screenshot on Android Auto
There are 3 things to know concerning Android Auto’s screenshot capability now that you understand how to use it. First, if you need to share the screenshot with others using multiple platforms, never hit “Always” in the final step described in the last section (via Guiding Tech). You won’t be willing to share a screenshot on any other platform if, for example, you need to share it via Discord and you touch the “Always” option while choosing the app. Therefore, remember that you must hit “Just Once.”
The screenshots you capture are not kept on your phone, which is the second thing to be aware of. You did really hear correctly! Since there is no option to save screenshots to your phone’s internal storage when using Android Auto, every screenshot you take must be shared right away. You can request a copy of the screenshot from someone after you’ve shared it with them.
- Smartphone too hot to handle? How to keep iPhone, Android phone from overheating in summer weather
- How to transfer WhatsApp chats to telegram on Android and iOS
- How to Hide Apps on Android
Last but not least, using Android Auto to take a screenshot necessitates paying attention to your smartphone, which is not recommended when operating a vehicle. As a result, pay attention to other road users and utilize the tool sparingly. It is best to ask a passenger in your car to snap screenshots for you so you can concentrate on the road.


